btys <- c("o", "l", "7", "c", "u", "]", "n")
op <- par(mfrow = c(2, 4), mar = c(2, 2, 3, 2))
for (bty in btys) {
  plot(0, 0, xlab = "", ylab = "", bty = bty, type = "n")
  mtext(paste("bty:", bty), side = 3, line = 0.5)
}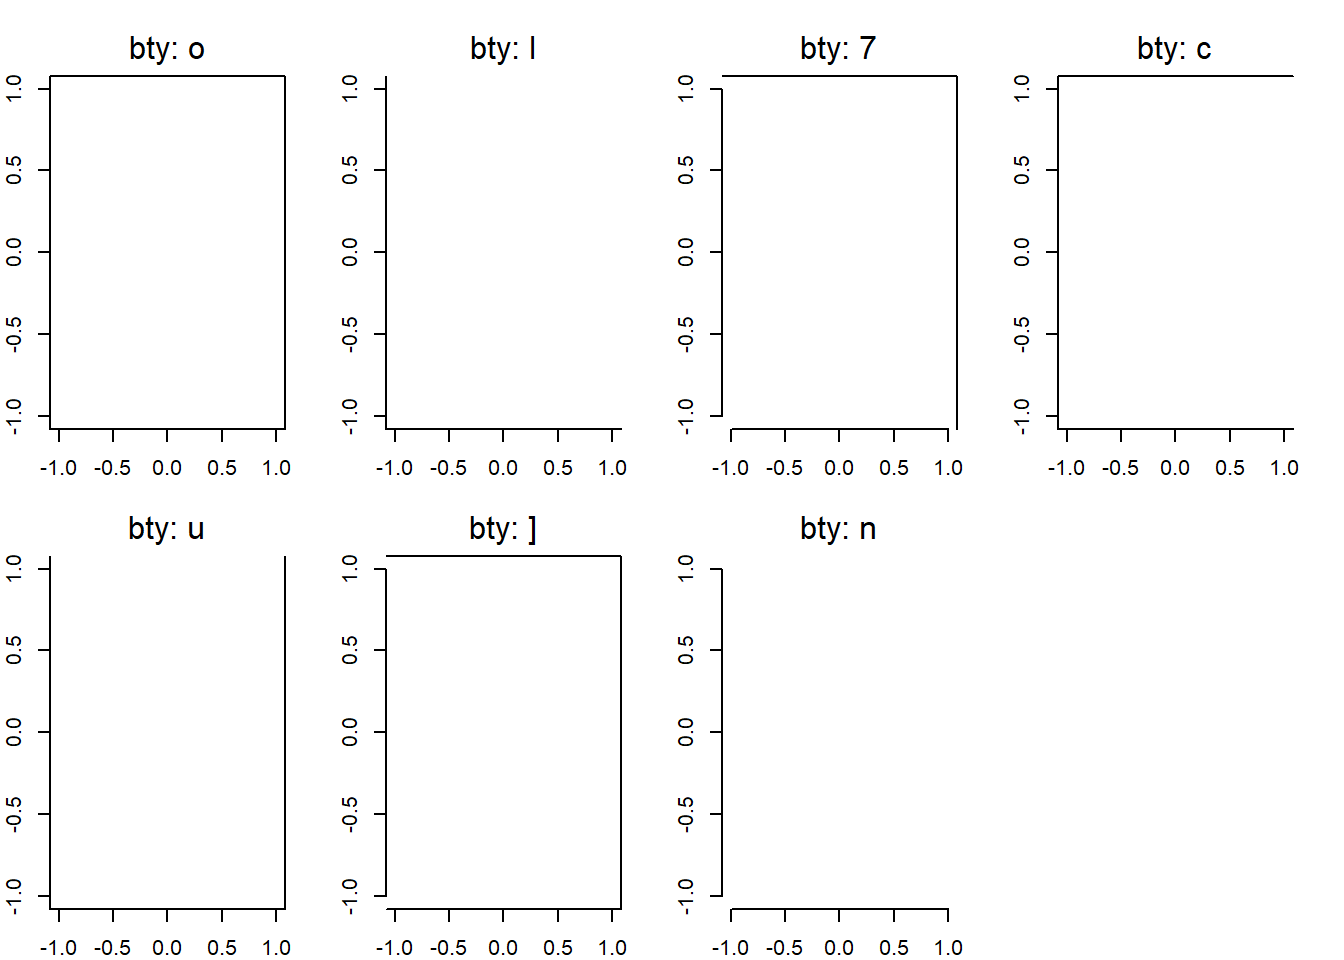
bty パラメータについてまとめます。
Rでプロットを作成すると、デフォルトで枠が表示されます。 この枠のタイプを bty パラメータで指定できます。
パラメータは以下の通りです:
"o": デフォルト。四角形の枠。"l": 左下と右上に枠が表示される。"7": 左上と右下に枠が表示される。"c": 左右に枠が表示される。"u": 上下に枠が表示される。"]": 右上に枠が表示される。"n": 枠なし。btys <- c("o", "l", "7", "c", "u", "]", "n")
op <- par(mfrow = c(2, 4), mar = c(2, 2, 3, 2))
for (bty in btys) {
plot(0, 0, xlab = "", ylab = "", bty = bty, type = "n")
mtext(paste("bty:", bty), side = 3, line = 0.5)
}
また、frame.plot = FALSE で枠を消すこともできます。 おそらく bty = "n" と同じ動作をします。
plot(1:10, 1:10, frame.plot = FALSE)
枠を後から追加したい場合は、box() 関数を使用します。
par(mfrow = c(1, 2), mar = c(2, 2, 3, 2))
plot(0, 0, xlab = "", ylab = "", type = "n", bty = "n")
plot(0, 0, xlab = "", ylab = "", type = "n", bty = "n")
box(bty = "o") # box(bty = "o") と同じ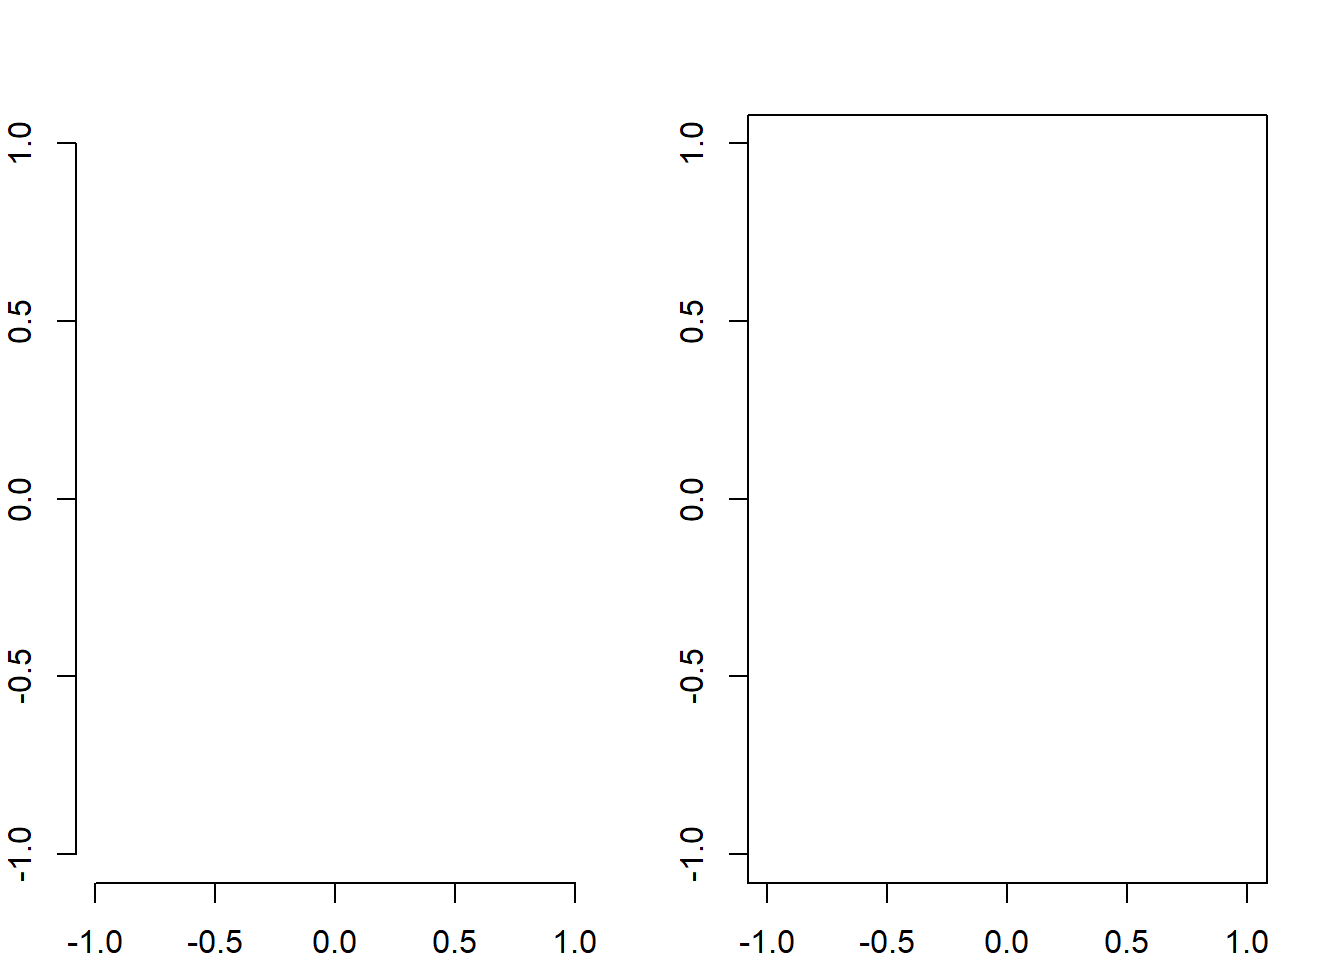
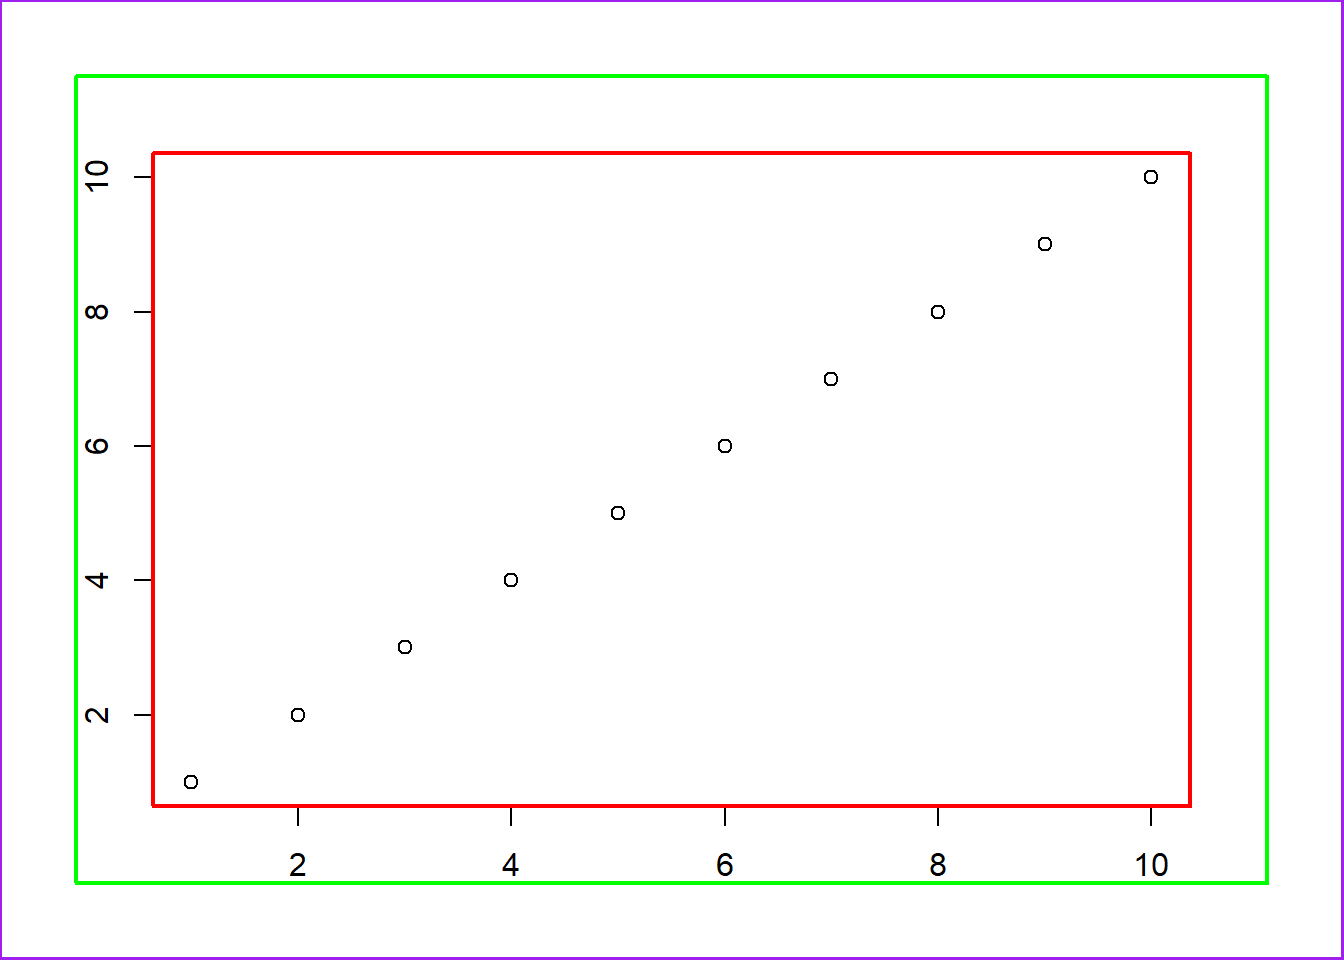
which 引数box() には どの領域に枠を描くかを指定する which 引数があります。
"plot"(デフォルト): プロット領域の枠を描く"figure": figure 領域(複数のプロットを配置したときの一枠)に枠を描く"inner": inner margin(par("mai") の内側)に枠を描く"outer": outer margin(par("oma") で指定した外側余白)に枠を描く枠も軸も書きたくない場合は、axes = FALSE を指定します。
plot(1:10, 1:10, axes = FALSE)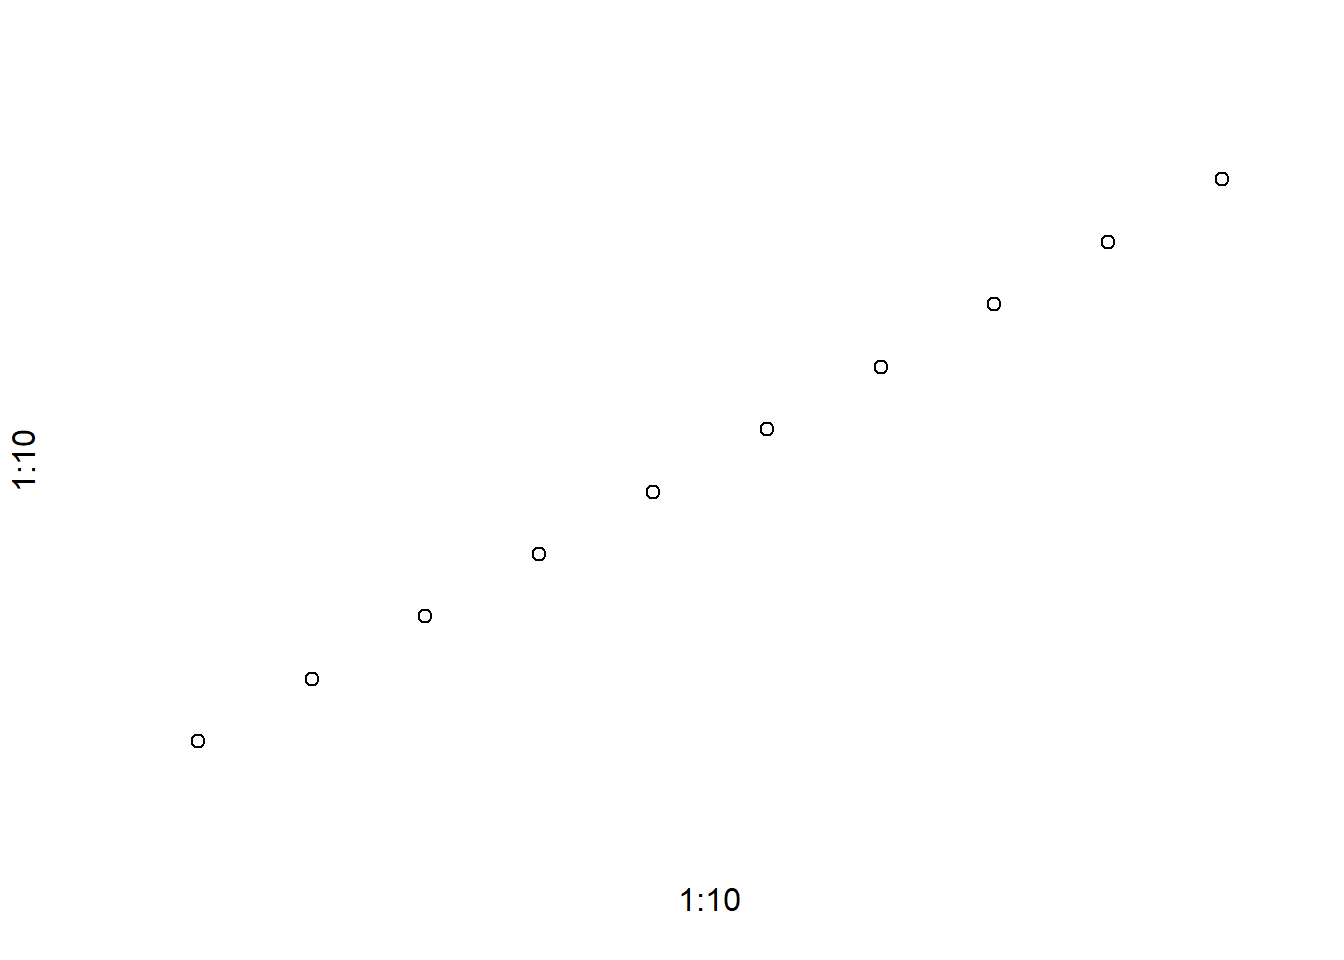
plot(1:10, 1:10, frame.plot = FALSE)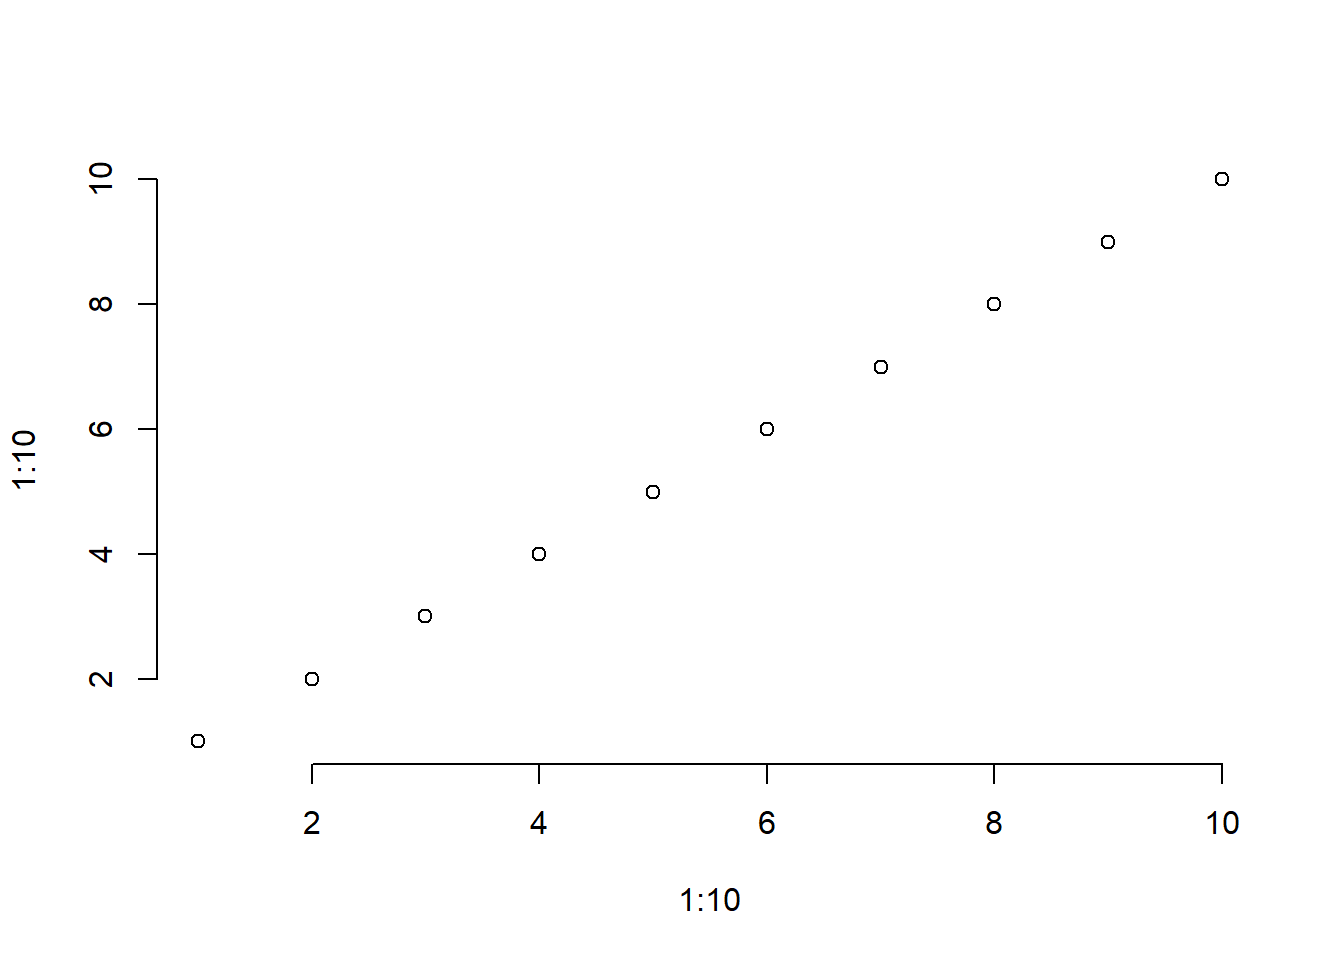
bty パラメータで 枠の形 を制御できる。
"o" がデフォルトの四角形、"n" は枠なし。frame.plot = FALSE でも枠を消せるが、これは 枠の描画そのものをオフにする設定。実質的に bty = "n" と似ている。box() 関数を使えば、プロット後に 枠を追加できる。
bty で形を指定できる。which 引数を使えば、plot / figure / inner / outer といった 階層的な領域に枠を描ける。axes = FALSE を使う。つまり:
bty
frame.plot = FALSE
box()
axes = FALSE